When it comes to protecting your basement from water damage, applying waterproof paint isn’t just about slapping on a coat. It requires careful preparation and the right techniques to guarantee a long-lasting seal. You’ll need to assess moisture levels and address any cracks before getting started. Understanding each step of the process can make all the difference in achieving a durable finish. Let’s explore how to properly prepare your space and apply the paint for best results.
Key Takeaways
- Clean the basement walls thoroughly to remove dust, dirt, and any old paint before starting the application process.
- Conduct a moisture assessment to identify damp areas and use a dehumidifier to ensure the surfaces are completely dry.
- Inspect for cracks and repair them to prevent moisture intrusion before applying the waterproof paint.
- Use a brush or roller for application, focusing on even strokes and working in small sections for a seamless finish.
- Allow the first coat to dry completely before inspecting for missed spots and applying additional coats as needed.
Understanding Basement Waterproof Paint
Basement waterproof paint is your best ally in preventing moisture issues that can damage your home. Its benefits include protecting your walls from mold, mildew, and structural damage, ensuring a dry and healthy environment.
To maximize these advantages, you’ll need to master proper application techniques. Start by cleaning the surface thoroughly, then choose a high-quality waterproof paint designed for basements.
Apply it with a roller for even coverage, ensuring you reach all corners. For best results, consider using multiple coats, allowing each layer to dry completely.
Preparing the Basement Surface
A clean and well-prepared surface is essential for the success of your waterproof paint application. Start with surface cleaning to remove dirt, dust, and any old paint. Next, conduct a moisture assessment to identify any damp areas that need addressing. Use a dehumidifier if necessary to guarantee the area is dry.
Here’s a simple table to guide your preparation steps:
| Step | Action | Purpose |
|---|---|---|
| Surface Cleaning | Wash walls | Remove contaminants |
| Moisture Assessment | Check for dampness | Identify problem areas |
| Drying | Use a dehumidifier | Guarantee dryness |
| Final Inspection | Look for cracks | Guarantee no issues remain |
Choosing the Right Waterproof Paint
When it comes to selecting the right waterproof paint, how do you guarantee you’re making the best choice for your basement? Start by exploring various paint types, such as latex, epoxy, and polyurethane. Each has unique properties that cater to different moisture levels and surfaces.
Next, consider color options that not only suit your style but also help brighten the typically dim basement environment. Light colors can make the space feel larger, while darker shades can create a cozy atmosphere.
Ultimately, choose a product specifically designed for waterproofing to assure long-lasting protection against moisture and mold.
Tools and Materials Needed
With the right waterproof paint chosen, it’s time to gather the tools and materials that will make your basement project a success.
You’ll need brushes and rollers suitable for your selected paint types, along with a paint tray for easy application. A high-quality primer can enhance adhesion, so don’t forget that.
For larger areas, consider a paint sprayer to speed up the job, using appropriate application techniques. Safety gear, like gloves and masks, is essential to protect yourself.
Finally, have drop cloths ready to keep your space clean. With these tools, you’re set for a smooth application process!
Applying the First Coat
Before diving into the application of the first coat, make sure your workspace is prepared and free of any debris.
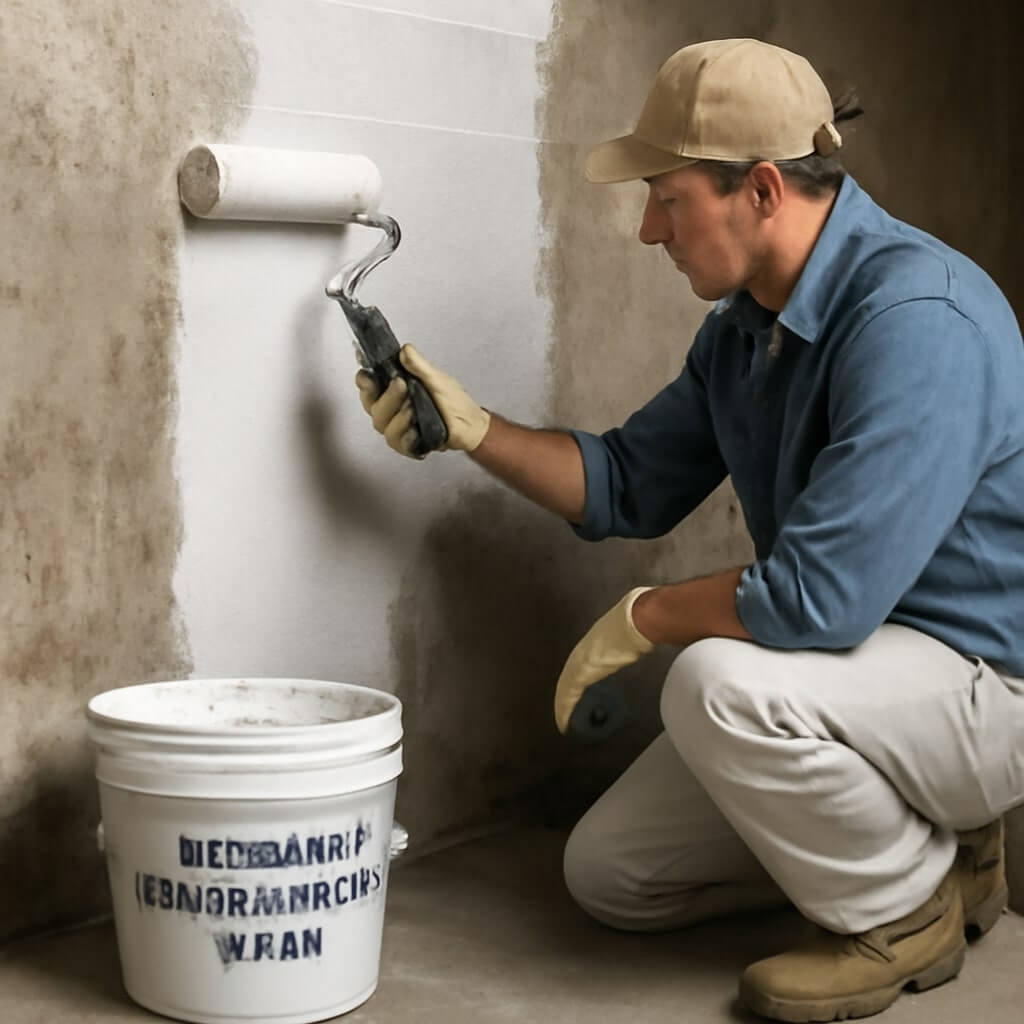
Start by using a brush or roller, depending on your preference and the surface texture. When applying, focus on first coat techniques that guarantee you’re covering the surface effectively.
Aim for even strokes, applying evenly to avoid drips or pooling. Work in small sections, blending each area as you go to create a seamless finish.
Remember to keep a wet edge to maintain consistency. Once you’ve finished, step back and inspect for any missed spots before moving on.
Drying Time and Curing Process
After applying the first coat of waterproof paint, it’s important to understand the drying time and curing process to guarantee optimal results. The drying duration can vary based on temperature and humidity, but typically, you should wait 24 hours before applying a second coat. Curing is essential for the paint to bond effectively with the surface, ensuring long-lasting protection against moisture.
| Stage | Duration | Importance |
|---|---|---|
| Initial Drying | 1-4 hours | Surface readiness |
| Recoat Time | 24 hours | Proper adhesion |
| Full Cure | 7 days | Maximum durability |
| Ideal Conditions | 50-85°F | Optimal application |
| Humidity Level | Below 70% | Prevents peeling |
Inspecting for Coverage and Defects
Once you’ve allowed the waterproof paint to dry, it’s crucial to inspect the surface for coverage and any defects.
Start with a thorough coverage assessment, looking for areas that appear thin or uneven. Shine a light across the wall to spot inconsistencies.
Begin by assessing coverage carefully, identifying any thin or uneven areas by shining a light across the wall for inconsistencies.
Next, focus on defect identification; check for bubbling, peeling, or cracks that could compromise the paint’s effectiveness. Don’t forget to examine corners and edges, as these spots often miss attention.
If you notice any issues, take notes for future reference. This step guarantees your basement remains protected from moisture and prolongs the life of your waterproofing efforts.
Applying Additional Coats
As you prepare to apply additional coats of waterproof paint, guarantee the first layer is completely dry and free from defects. This guarantees a strong bond for ideal protection.
Use effective recoat techniques by lightly sanding the surface between layers to enhance adhesion. When applying the second coat, focus on paint layering; thin, even applications work best. Aim for a consistent coverage across all areas, guaranteeing no spots are missed.
Allow each coat to dry according to the manufacturer’s instructions before proceeding. This method not only boosts durability but also creates a professional finish that’ll keep your basement safe from moisture.
Final Touches and Clean-up
When you’ve completed the application of your waterproof paint, taking care of the final touches and clean-up is essential for a polished result.
First, conduct a final inspection of your work to guarantee even coverage and touch up any spots needing attention.
Next, use effective cleanup techniques to remove paint splatters and tools, keeping your workspace tidy.
Finally, dispose of any leftover materials properly to maintain a safe environment.
- Inspect for missed areas.
- Clean brushes and rollers immediately.
- Store leftover paint in a cool, dry place.
Following these steps will guarantee your project looks great!
Maintenance Tips for Longevity
To guarantee your basement waterproof paint remains effective for years to come, regular maintenance is key. Establish a maintenance schedule to inspect your basement every six months. Look for peeling paint, moisture, or mold, and address issues promptly. Implement preventive measures, such as ensuring proper drainage and ventilation.
Here’s a simple maintenance checklist to follow:
| Task | Frequency | Notes |
|---|---|---|
| Inspect walls | Every 6 months | Look for cracks or damage |
| Clean gutters | Twice a year | Prevent overflow |
| Check for leaks | Monthly | Fix any leaks immediately |
| Ventilate space | Weekly | Reduce humidity levels |
Conclusion
By following these steps, you can effectively apply basement waterproof paint and protect your space from moisture damage. Proper preparation, careful application, and regular maintenance will guarantee your efforts last for years to come. Don’t forget to inspect for any issues periodically and address them promptly. With the right approach, your basement can remain dry and comfortable, providing you with a functional area you can enjoy for years ahead.