Waterproofing your basement floor is essential for maintaining a dry and safe space. Start by evaluating the current state of your basement and identifying any moisture sources. You’ll need to prepare the surface meticulously before choosing the right waterproofing method. With the proper materials and techniques, you can effectively seal your basement against water damage. Let’s explore the steps you need to take to guarantee your efforts are successful.
Key Takeaways
- Conduct a thorough inspection of the basement floor for cracks, stains, and any signs of moisture before starting the waterproofing process.
- Clean the floor surface thoroughly to remove dirt, debris, and any existing moisture that could interfere with the waterproofing application.
- Fill any cracks or holes with an appropriate sealant to create a solid and impermeable surface for waterproofing.
- Apply a waterproof membrane or waterproof paint specifically designed for basement floors for effective moisture protection.
- Regularly monitor and maintain the waterproofing system to ensure long-term effectiveness and address any new issues promptly.
Assessing the Current State of Your Basement
Before you begin waterproofing your basement floor, it’s essential to assess its current state.
Start with a thorough basement inspection, looking for cracks, stains, or signs of previous water damage. Pay close attention to corners and around pipes, as these areas often harbor issues.
Next, conduct a moisture evaluation by using a moisture meter or placing a plastic sheet on the floor for 24 hours. If condensation forms, you’ve got a moisture problem.
Conduct a moisture evaluation using a moisture meter or a plastic sheet to identify any condensation issues.
Document your findings to guide your waterproofing efforts. Understanding your basement’s condition sets the stage for effective solutions and prevents future headaches.
Identifying Sources of Moisture
To effectively waterproof your basement, you need to identify where moisture is coming from.
Look for common sources like leaks, condensation, and groundwater issues, and be aware of signs like damp spots or mold growth.
Environmental factors such as heavy rainfall or poor drainage can also play a significant role in moisture intrusion, so keep those in mind as you assess your space.
Common Moisture Sources
While many homeowners may not realize it, a variety of factors can contribute to moisture issues in a basement.
Common humidity sources include leaks from plumbing, condensation from temperature fluctuations, and ground moisture seeping through walls or floors. Poor drainage around your home can exacerbate these problems, allowing water to pool near the foundation.
Additionally, inadequate moisture barriers can fail to keep excess humidity at bay. Regularly inspecting these areas and addressing potential sources will help you maintain a drier basement.
Understanding these common moisture sources is essential to effectively waterproofing and protecting your space.
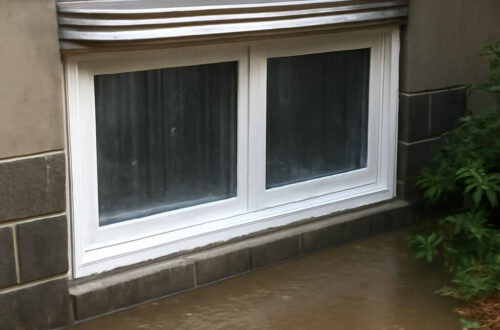
Signs of Water Intrusion
Recognizing the signs of water intrusion is essential for maintaining a dry and healthy basement.
Look for water stains on walls and floors, which often indicate leaks or moisture buildup. Check for mold growth, as it thrives in damp conditions and can affect your health.
Pay attention to musty odors; they can signal hidden moisture issues. Additionally, inspect the foundation for cracks, as they can allow water to seep in.
Environmental Factors to Consider
Identifying environmental factors that contribute to moisture in your basement is essential for effective waterproofing.
Start by evaluating your climate conditions; areas with high humidity or frequent rainfall can lead to increased moisture levels.
Next, examine the soil composition around your home. Clay soils retain water, while sandy soils drain better, influencing how moisture interacts with your foundation.
Additionally, consider the landscaping; proper grading away from your home can help divert water.
Preparing the Surface for Waterproofing
Before you begin waterproofing your basement floor, it’s essential to prepare the surface properly to guarantee effective results. Start with thorough surface cleaning to remove dirt, dust, and debris. This confirms your waterproofing material adheres well. Next, inspect for cracks or damage and repair them.
| Step | Action | Importance |
|---|---|---|
| Surface Cleaning | Sweep and mop | Confirms better adhesion |
| Crack Inspection | Look for damages | Prevents future leaks |
| Repairs | Fill cracks and holes | Strengthens the surface |
| Drying Time | Allow to dry completely | Confirms proper application |
Following these steps will set you up for success.
Choosing the Right Waterproofing Method
With the basement surface properly prepared, you can now focus on selecting the right waterproofing method that fits your specific needs.
Start by exploring membrane options, such as sheet membranes or liquid-applied membranes, which provide effective barriers against moisture.
Consider the installation process and how each option aligns with your skill level. Additionally, weigh the cost considerations—some methods may be more budget-friendly upfront but require more maintenance later.
Evaluate long-term benefits versus initial expenses to make an informed choice. Ultimately, the right waterproofing method will guarantee a dry, healthy basement for years to come.
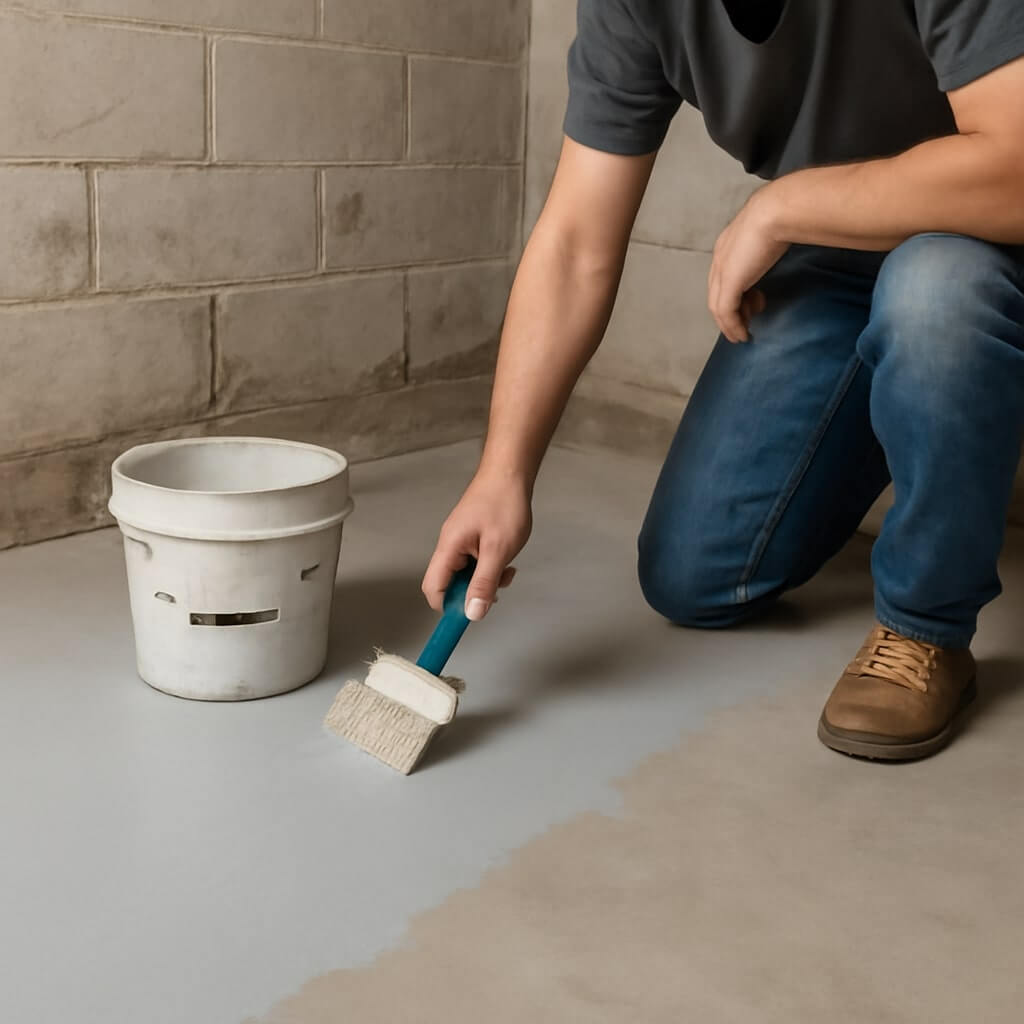
Applying Waterproofing Sealants or Coatings
Once you’ve selected the appropriate waterproofing method, applying sealants or coatings is your next essential step. Start by choosing the right sealant types for your basement, such as liquid rubber, epoxy, or acrylic. Follow the specific instructions for coating application to guarantee effectiveness.
| Sealant Type | Application Method | Drying Time |
|---|---|---|
| Liquid Rubber | Brush or roller | 2-4 hours |
| Epoxy | Trowel or squeegee | 6-12 hours |
| Acrylic | Spray or roller | 1-2 hours |
| Polyurethane | Brush or roller | 4-8 hours |
| Silicone | Caulk gun | 24 hours |
Carefully cover the entire surface for ideal protection.
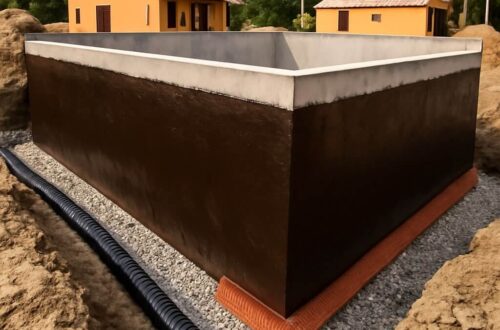
Installing a Drainage System
Installing a drainage system is essential for keeping your basement dry and preventing water damage.
Start by digging a trench around the perimeter of your basement floor for a French drain. Lay perforated pipe in the trench, ensuring it slopes towards a sump pump location. Cover the pipe with gravel, allowing for proper water flow.
Next, install the sump pump in a sump pit below the basement floor level, connecting it to the drain system. This setup will efficiently collect and redirect water away from your basement, ensuring it stays dry and protected from potential flooding issues.
Maintaining Your Waterproofed Basement
To keep your basement waterproofed, regular inspections are essential.
You’ll want to check your drainage systems for clogs and guarantee humidity control measures are in place to prevent moisture buildup.
Staying proactive will help you maintain a dry and healthy basement environment.
Regular Inspections and Maintenance
While a waterproofed basement offers peace of mind, regular inspections and maintenance are essential to guarantee it remains effective over time.
Schedule routine checks every few months to identify any signs of wear or damage. Look for cracks, mold, or dampness, and address these issues promptly.
Incorporate preventative measures like applying sealants or ensuring your sump pump functions properly. Don’t forget to inspect window wells and drainage systems, as they can contribute to water issues.
Proper Drainage Systems
Proper drainage systems are vital for maintaining a waterproofed basement, as they help direct water away from your home and prevent potential flooding.
To achieve this, consider various drainage solutions like French drains, which collect groundwater and redirect it away from your foundation.
Installing a sump pump is also essential; it actively removes any water that accumulates in your basement.
Make certain to regularly check and maintain these systems to guarantee they function effectively.
Humidity Control Measures
Although you’ve taken the essential steps to waterproof your basement, managing humidity is equally crucial for maintaining a dry and healthy space.
Start with proper dehumidifier installation; choosing the right size for your basement can greatly reduce moisture levels. Make certain to regularly empty the reservoir or opt for a model with a continuous drainage option.
Additionally, consider adding a moisture barrier to walls and floors, preventing external moisture from seeping in.
Monitor humidity levels with a hygrometer, aiming for 30-50%.
Conclusion
By following these steps, you can effectively waterproof your basement floor and protect your home from moisture damage. Start with a thorough assessment and preparation, choose the right sealants, and guarantee proper drainage. Regular maintenance is key to keeping your basement dry and safe. With a little effort and the right tools, you’ll create a reliable barrier against water, giving you peace of mind and a healthier living space. Don’t wait—get started on your waterproofing project today!