When tackling the installation of an interior basement waterproofing membrane, you need to start with a careful assessment of your basement’s condition. Identifying cracks, damp spots, and potential water sources is essential for effective waterproofing. Once you’ve evaluated the space, the next steps involve selecting the right membrane and preparing the area for installation. Understanding these foundational elements sets the stage for a successful waterproofing project, but the specifics of the installation process are just as vital.
Key Takeaways
- Conduct a thorough inspection of the basement to identify cracks, damp spots, and potential water sources before installation.
- Clean and prepare the walls to ensure a smooth surface for optimal adhesion of the waterproofing membrane.
- Choose the appropriate type of waterproofing membrane, such as liquid-applied or sheet, based on basement conditions and desired protection.
- Apply the membrane according to manufacturer instructions, ensuring edges and seams are sealed with silicone sealant and waterproof tape.
- Allow sufficient cure time for the membrane and sealants before exposing them to moisture to ensure effective waterproofing.
Understanding Interior Basement Waterproofing Membranes
When it comes to protecting your basement from water intrusion, understanding interior basement waterproofing membranes is essential.
Various membrane types, like liquid-applied and sheet membranes, offer unique advantages. Liquid membranes create seamless barriers, while sheet membranes provide robust protection against hydrostatic pressure.
Both types deliver significant waterproofing benefits, such as preventing mold growth, preserving structural integrity, and enhancing your home’s value.
Choosing the right membrane depends on your basement’s specific conditions and your long-term goals.
Assessing Your Basement’s Condition
To effectively assess your basement’s condition, start with a thorough visual inspection, looking for cracks and damp spots on walls and floors.
Next, identify potential water sources, such as leaks from pipes or groundwater intrusion.
Finally, evaluate any mold presence, as it can indicate moisture issues that need immediate attention.
Visual Inspection Techniques
Although evaluating your basement’s condition might seem challenging, using effective visual inspection techniques can simplify the process.
Start by examining walls, floors, and corners for signs of moisture detection, such as discoloration or efflorescence. Look for cracks or gaps that could indicate structural issues.
Check for mold or mildew, which often signals persistent dampness. Pay attention to any musty odors, as these can hint at hidden moisture problems.
Use a flashlight to illuminate dark areas and enhance visibility. Document your findings meticulously, as this information will be essential for determining the next steps in your waterproofing project.
Identifying Water Sources
Identifying the sources of water intrusion in your basement is essential for effective waterproofing. Proper water source identification will help you tackle moisture issues head-on.
Start by conducting thorough moisture detection assessments, focusing on areas prone to dampness. Pay attention to:
- Cracks in walls and floors
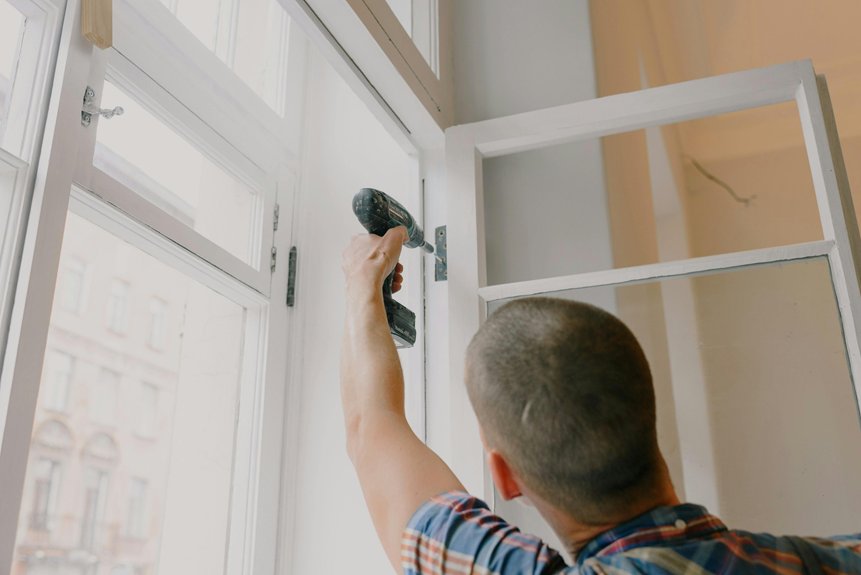
- Leaky windows or doors
- Poorly sealed joints
- Excessive humidity levels
These factors can greatly contribute to water problems. By pinpointing these potential sources, you can formulate a targeted strategy for prevention.
Ignoring these signs may lead to more severe issues, so act promptly to safeguard your space from water damage.
Evaluating Mold Presence
Once you’ve pinpointed the sources of water intrusion, evaluating your basement for mold presence becomes the next vital step.
Start with mold detection techniques such as visual inspections, moisture meters, and air quality tests to identify any hidden infestations. Look for signs like discoloration on walls or a musty smell.
If you discover mold, consider mold remediation options like chemical treatments, encapsulation, or professional removal services. Addressing mold promptly not only promotes a healthier environment but also prevents further structural damage.
Choosing the Right Waterproofing Membrane
When selecting the right waterproofing membrane for your basement, it’s crucial to take into account factors such as the specific moisture conditions of your environment and the type of foundation you have.
Consider these points:
- Membrane materials: Choose from options like polyethylene, rubber, or vinyl for ideal performance.
- Waterproofing benefits: Look for membranes that effectively redirect water away from walls.
- Installation ease: Some membranes are easier to install than others, saving you time and effort.
- Durability: Confirm the membrane can withstand potential punctures or damage over time.
Choosing wisely can greatly enhance your basement’s protection against moisture.
Preparing the Basement for Installation
Before you begin the installation of your waterproofing membrane, it’s essential to prepare your basement properly to secure ideal results.
Start by removing any basement clutter, including boxes, furniture, and appliances. This will give you ample space to work and guarantee no obstacles interfere with the installation process.
Next, focus on wall preparation; inspect for cracks, mold, or loose paint. Clean the walls thoroughly to remove dirt and debris, making sure they’re dry before proceeding.
Inspect walls for cracks, mold, or loose paint, and ensure they are clean and dry for optimal membrane adhesion.
Proper wall preparation is vital for the membrane’s adhesion and overall effectiveness, so don’t skip this critical step in the installation process.
Installing the Waterproofing Membrane
Now that your basement is prepared, you can start installing the waterproofing membrane.
You’ll need to focus on surface preparation steps, follow specific membrane application techniques, and guarantee proper sealing and finishing touches for best results.
Each of these elements plays an essential role in achieving a watertight environment.
Surface Preparation Steps
To guarantee a successful installation of the waterproofing membrane, you must first prepare the surface meticulously.
Start by employing effective surface cleaning methods and debris removal techniques to ascertain a smooth application. Follow these steps:
- Clear the area of any loose materials or dust.
- Scrub the walls and floor with a stiff brush to remove stubborn dirt.
- Use a vacuum or blower to eliminate remaining particles.
- Inspect for cracks or holes that may need repair.
Taking the time to prepare your surface will greatly enhance the performance of the waterproofing membrane, assuring a long-lasting solution for your basement.
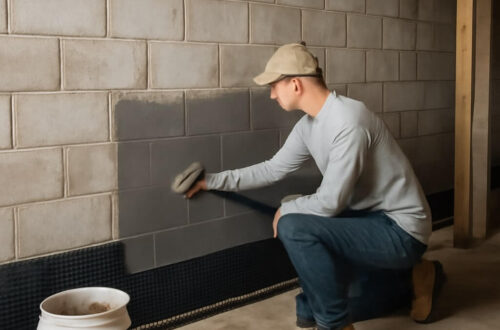
Membrane Application Techniques
Begin the membrane installation by carefully unrolling the waterproofing membrane along the prepared surface.
Different membrane types, like rubberized asphalt or polyethylene, may require specific application methods. For peel-and-stick membranes, remove the backing and press firmly onto the wall, guaranteeing there are no air bubbles.
If using liquid-applied membranes, apply a consistent coat with a roller or brush, allowing adequate drying time between layers.
Overlap seams by at least six inches to guarantee a watertight seal.
Remember to check for proper adhesion and alignment throughout the process, as this will markedly affect the overall effectiveness of the waterproofing system.
Sealing and Finishing Touches
After you’ve applied the waterproofing membrane, sealing the edges and seams is essential to guarantee maximum protection against moisture intrusion.
Use effective sealing techniques to secure durability. Here are some finishing touches to take into account:
- Silicone Sealant: Apply around joints for a watertight finish.
- Tape: Use waterproof tape on seams for added security.
- Inspect: Check for any gaps or bubbles that may need attention.
- Cure Time: Allow sufficient time for sealants to set before exposing to moisture.
These steps will enhance your waterproofing efforts, securing a dry and safe basement environment.
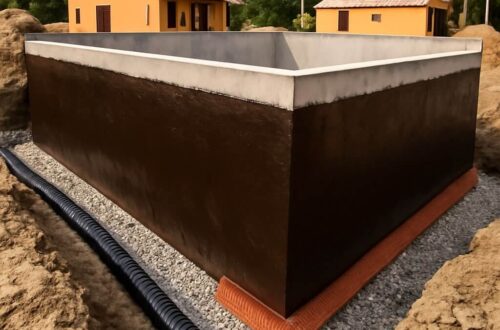
Ensuring Proper Drainage
While installing a basement waterproofing membrane, making certain proper drainage is essential to prevent water accumulation and potential structural damage.
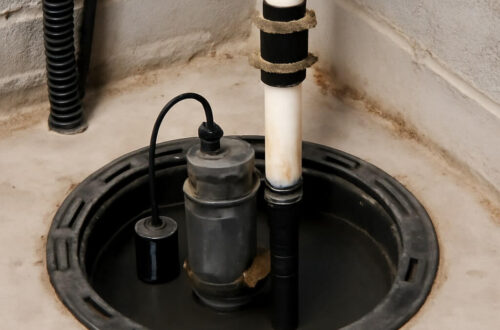
First, assess your existing drainage systems; they must effectively guide water flow away from the foundation. Consider installing a sump pump if your basement has high water levels.
Use perforated drainage pipes along the perimeter to collect and redirect excess water. Make sure that these pipes slope towards the sump pit or exterior drain.
Additionally, check for any blockages in the drainage system, as even minor obstructions can hinder water flow, leading to moisture issues and compromising the waterproofing membrane’s effectiveness.
Maintenance Tips for Long-Lasting Protection
Proper drainage sets the foundation for effective basement waterproofing, but ongoing maintenance is essential for guaranteeing long-lasting protection.
Implementing preventive measures and conducting regular inspections can help you catch potential issues early. Here are some tips to keep your waterproofing intact:
- Check for cracks or gaps in walls and floors.
- Confirm sump pumps and drainage systems are functioning properly.
- Clean gutters and downspouts to prevent overflow.
- Monitor humidity levels and use a dehumidifier if necessary.
Conclusion
In summary, installing an interior basement waterproofing membrane requires careful preparation and execution. By thoroughly evaluating your basement, choosing the right material, and following proper installation techniques, you can create a reliable moisture barrier. Don’t forget to guarantee adequate drainage and perform regular maintenance to enhance the longevity of the system. With these steps, you’ll protect your basement from water damage and maintain a dry, safe environment for years to come.