If you’ve got an old stone basement, chances are you’ve faced moisture issues at some point. Understanding the condition of your walls is essential, as well as identifying where that moisture is coming from. Proper preparation is key before you start waterproofing. With the right methods and materials, you can protect your basement effectively. But what steps should you take to guarantee long-lasting results? Let’s explore the process further.
Key Takeaways
- Assess the condition of stone walls for cracks, loose stones, and moisture indicators like efflorescence before waterproofing.
- Identify sources of moisture such as leaks, groundwater seepage, and humidity to address them effectively.
- Prepare walls by cleaning, repairing damage, and ensuring surface integrity for optimal waterproofing application.
- Choose suitable waterproofing methods like liquid coatings or drainage systems based on specific moisture levels and conditions.
- Maintain the waterproofed basement with regular inspections, humidity checks, and cleaning of gutters and drainage systems.
Assessing the Condition of Your Stone Basement Walls
How do you know if your stone basement walls are in good shape? Start with a thorough stone wall assessment.
Look for cracks, loose stones, or signs of deterioration. Check for any efflorescence, which indicates moisture problems.
Inspect for cracks, loose stones, and signs of deterioration, including efflorescence, which can reveal moisture issues.
Conduct a moisture evaluation by feeling for dampness and checking for mold or mildew. Use a moisture meter for accuracy; readings above 16% may signal a problem.
Pay attention to any unusual odors, as they can suggest trapped moisture.
Regular checks will help you maintain the integrity of your basement, ensuring it stays dry and structurally sound.
Identifying Sources of Moisture
To effectively waterproof your old stone basement walls, you first need to identify what’s causing the moisture.
Common sources include leaks from pipes, groundwater seepage, and even seasonal humidity changes.
Look for signs of dampness like mold growth, peeling paint, or musty odors, as these can help pinpoint the problem areas.
Common Moisture Sources
While you might think your old stone basement is immune to moisture, several common sources could be causing dampness and humidity issues. Identifying these sources is essential for implementing effective moisture barriers and drainage solutions.
| Moisture Source | Description |
|---|---|
| Groundwater | Water rising through the soil |
| Rainwater | Water pooling against the foundation |
| Plumbing leaks | Pipes leaking into walls or floors |
| Humidity | High moisture in the air |
Addressing these sources promptly can help prevent future problems and keep your basement dry and healthy.
Signs of Dampness
If you notice a musty smell or see streaks of discoloration on your basement walls, these could be clear signs of dampness that warrant immediate attention.
Look for other dampness indicators, like peeling paint or mold growth, which can signal moisture problems. Check for condensation on windows or pipes, as this can also indicate excessive humidity.
Use moisture detection tools, like a hygrometer, to measure humidity levels. Pay attention to the floor; puddles or damp spots can point to leaks.
Addressing these signs early can help prevent more severe damage and guarantee a healthier living environment.
Seasonal Moisture Changes
As the seasons change, so do the moisture levels around your home, making it essential to identify the sources of potential dampness in your basement.
Seasonal humidity and temperature fluctuations can create conditions ripe for moisture buildup. To pinpoint where dampness might originate, consider the following:
- Rainwater runoff from gutters that overflow or leak
- Condensation due to warm interior air meeting cold stone walls
- Groundwater levels rising during wet seasons
Preparing the Walls for Waterproofing
Before you start waterproofing your old stone basement walls, you’ll want to inspect for any damage that may compromise the integrity of the surface.
Clean the walls thoroughly to remove dirt, mildew, and any loose materials that could hinder adhesion.
Finally, repair any cracks and holes to guarantee a smooth and effective waterproofing process.
Inspect for Damage
While you might be enthusiastic to start waterproofing your old stone basement walls, it’s important to first inspect for any damage.
Evaluating the stone integrity is vital for effective waterproofing. Conduct a thorough moisture evaluation to identify potential issues.
Look for:
- Cracks or fissures in the stone
- Signs of mold or mildew growth
- Efflorescence or white powdery residue on the surface
These factors can compromise your waterproofing efforts.
Address any damage found before applying waterproofing solutions to guarantee your walls remain strong and dry.
Taking these steps will help you create a more effective and long-lasting waterproof barrier.
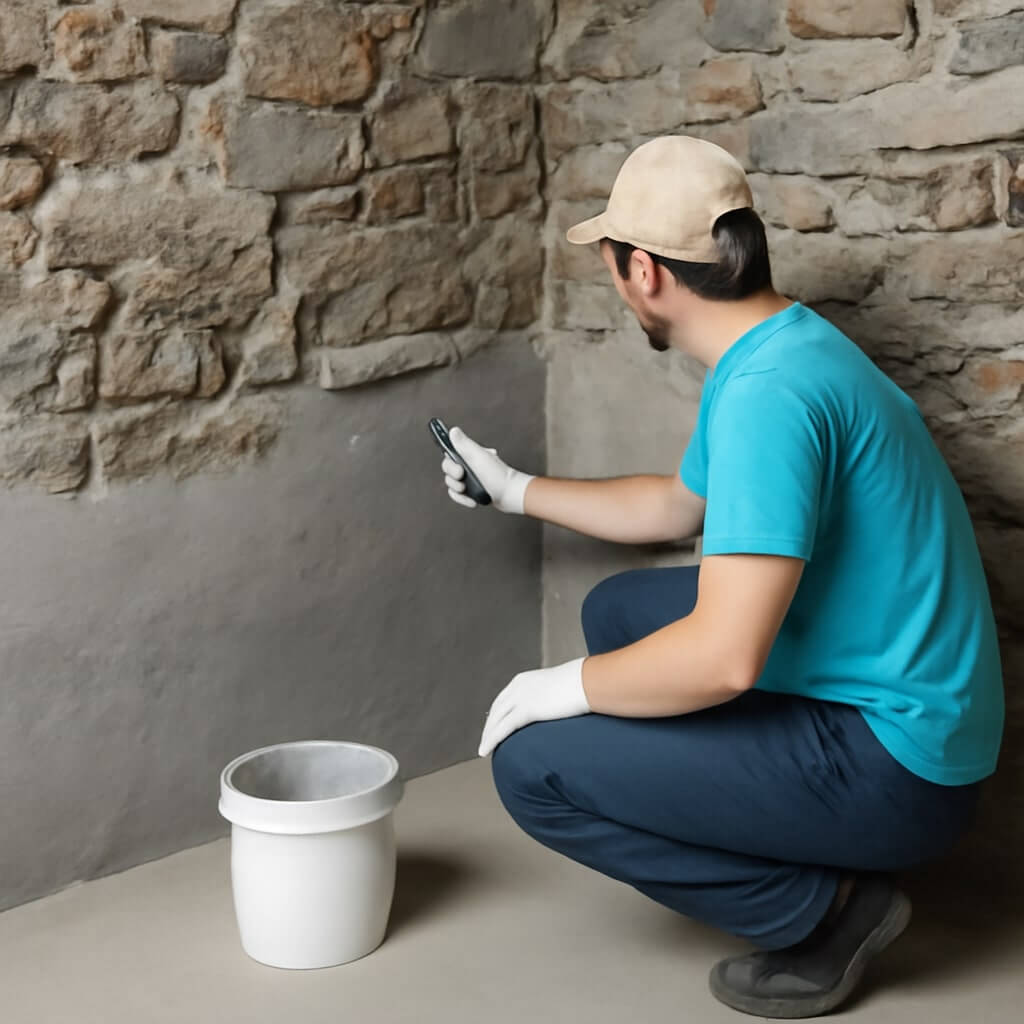
Clean Surface Thoroughly
Start by cleaning the surface of your stone basement walls to guarantee the waterproofing materials adhere properly.
Use effective cleaning techniques like pressure washing or scrubbing with a stiff-bristle brush and a suitable cleaning solution to remove dirt, mold, and debris.
Pay attention to any grime that may be clinging to the stones, as this can hinder adhesion.
After cleaning, rinse the walls thoroughly and let them dry completely.
Proper surface preparation is essential; any leftover residue can compromise the waterproofing process.
Ascertain your walls are clean and dry before moving on to the next steps in waterproofing.
Repair Cracks and Holes
Inspect your stone basement walls for any cracks or holes that could allow water to seep in.
Identifying and repairing these imperfections is essential for effective waterproofing. Here’s what you need to do:
- Crack sealing: Use a quality sealant designed for masonry to fill in any cracks. Make certain to apply it generously for a tight seal.
- Hole filling: For larger gaps, consider using a patching compound or masonry mortar to guarantee a solid barrier.
- Smooth the surface: After sealing and filling, smooth the area with a trowel to create an even finish, preparing for the next waterproofing steps.
Choosing the Right Waterproofing Methods
When it comes to waterproofing old stone basement walls, selecting the right method can make all the difference in preventing moisture issues.
You’ll want to take into account various membrane types, such as liquid coatings or sheet membranes, which provide effective barriers against water intrusion.
Consider using liquid coatings or sheet membranes to create effective barriers against water intrusion in your basement walls.
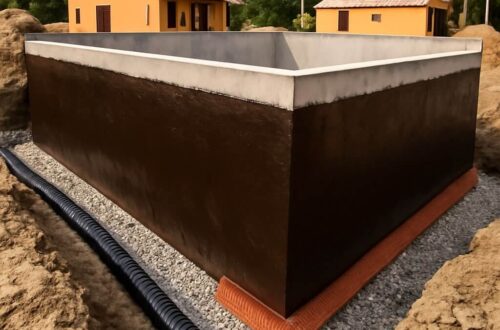
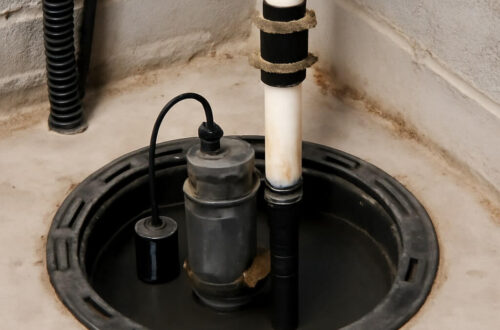
Additionally, implementing proper drainage solutions, like French drains or sump pumps, can help manage water flow and reduce pressure on your walls.
Assess your specific situation, the level of moisture, and the wall condition to determine the best combination of methods.
This approach guarantees your basement stays dry and protected from potential damage.
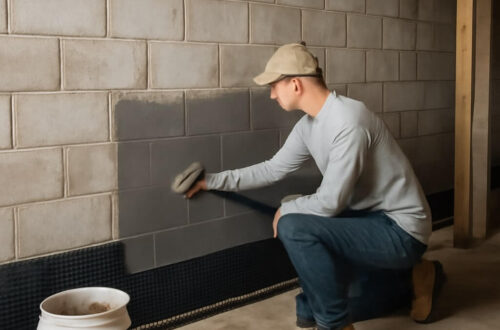
Applying Waterproofing Materials
As you prepare to apply waterproofing materials to your old stone basement walls, it’s crucial to guarantee the surface is clean and free of debris.
Choose the right waterproofing products suited for stone, like liquid membranes or sealants. Use effective application techniques to maximize protection:
- Apply a primer to improve adhesion.
- Use a brush or roller for even coverage.
- Allow adequate drying time between coats.
Following these steps will help you achieve a durable waterproof barrier, protecting your basement from moisture and potential damage.
Keep your workspace well-ventilated and wear protective gear for a safe application process.
Maintaining Your Waterproofed Basement
To guarantee your waterproofed basement remains effective, regular maintenance is crucial. Start by scheduling regular inspections to catch any potential issues early. Check for cracks, moisture, and mold, as these can compromise your efforts. Maintaining humidity levels is equally important; use dehumidifiers if necessary to keep moisture in check.
| Task | Frequency | Notes |
|---|---|---|
| Inspect walls | Every 6 months | Look for cracks or peeling |
| Test humidity levels | Monthly | Aim for 30-50% relative humidity |
| Clean gutters | Bi-annually | Prevent water from pooling |
| Check drainage systems | Annually | Guarantee proper water flow |
Conclusion
By following this guide, you can effectively waterproof your old stone basement walls and protect your home from moisture issues. Start by evaluating the condition of your walls and identifying moisture sources. Prepare the surfaces properly, choose the right waterproofing methods, and apply materials diligently. Don’t forget to maintain and inspect your waterproofed areas regularly to guarantee long-lasting protection. Taking these steps will help keep your basement dry and your home safe for years to come.